
life from death
… an abandoned house covered in graffiti at the Salton Sea, California.
life from death
… an abandoned house covered in graffiti at the Salton Sea, California.
incongruent
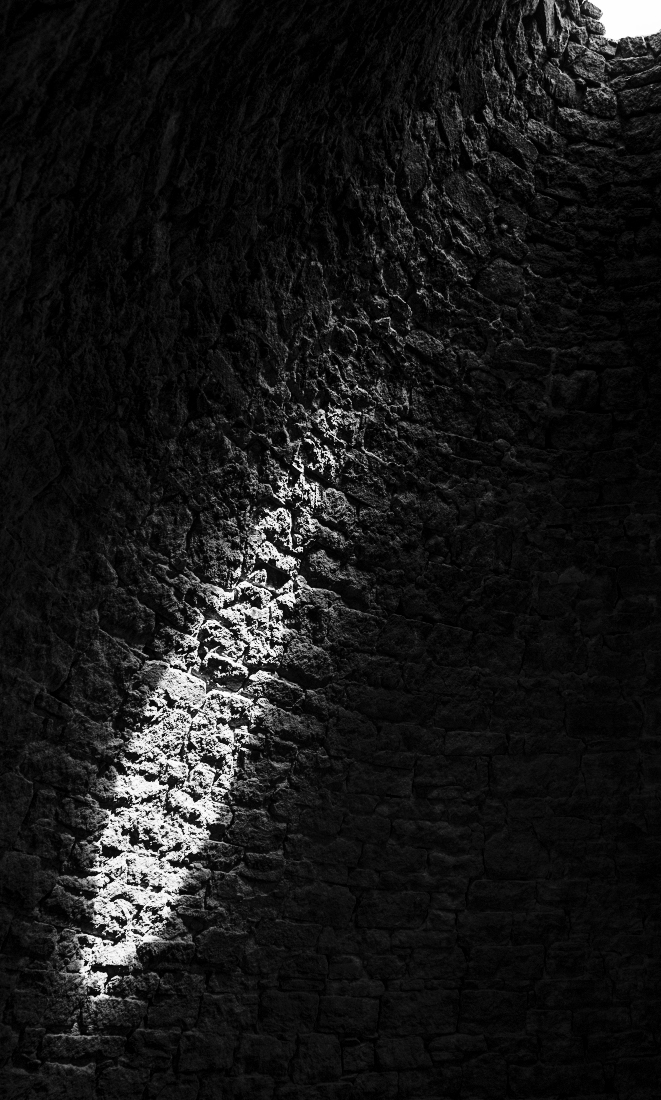
… Sunshine coming through a round hole making an elongated bright spot. Inside a charcoal oven at Ward Charcoal Ovens just outside Ely, Nevada.

dichotomous
… A swirly butte in North Coyote Buttes along the hike to The Wave near the Arizona-Utah border.

plentiful
… Snake grass growing like, well, snake grass deep in the canyon at Calf Creek in central Utah.

passage
… looking up the canyon wall along the hike to lower Calf Creek Falls in central Utah off of highway 12.

filtered
… Another one from Buckskin Gulch slot canyon. So many textures and shifting light. It was really something else to experience. Southern Utah off of Highway 89 down House Rock Road, about an hour from Kanab.

contextual
… A boat chilling among the rock formations at Canyon Lake, east of Scottsdale, Arizona.

arizonaland
(profound)

unobtrusive

canception

grandiose

friendly

id vs. ego

heaven?
 paso grapo

big sur lady bug

so I don’t normally share my photoshop alterations unless asked, but I figured this one kind of deserves a little show and tell from the original capture to create the final “false color” image.

this is what the camera captured with a BW 092 infrared filter on a full spectrum panasonic lumix gf2 with 14mm f/2.5 lens and custom white balance. when I say custom white balance, I really mean that I have saved a custom white balance that I like for the infrared filters. It doesn’t mean it is actually custom balanced for this scene. If you have a full spectrum or IR converted camera you know that the factory white balances and auto white balance are basically useless once you convert it so you have to make your own custom white balances for your most used filters.

this is with my curves adjustment. I almost always do my curves or tonal adjustments before any color adjustments. depending on the amount of color information captured i may put the curves layer(s) on luminance mode, but in captures like this with very minimal color information I tend to let it stay on normal mode to amplify and saturate the colors to help me in the next step of separating and adjusting colors.

then this is after my first hue/sat color adjustments. each color channel contains different information which can be exploited even in the most “monochromatic” of scenes as this. I was able to separate and shift the blues and magentas on the first hue/sat adjustment.
then further separate and shift the cyans, blues, magentas and reds in the second hue/sat adjustment for the final color.
i don’t always use hue/sat adjustments for color shifting. sometimes i will use channel mixer if I know I want a really drastic color shift. Channel mixer is a bit more technical and specific, and a lot of times I don’t know what I want my final colors to be so I just start playing with the hue/sat. Another step that I often add is the adobe camera raw lightness/hue/sat adjustments before I do anything else in photoshop which is even better for image stability if you can do most of it in ACR. In the image above, i just went straight to photoshop without any ACR adjustments at all.
if you want to get more technical and specific with your color adjustments, you can also adjust how much of each channel you are shifting. Say you are working on your blues, but want to also shift some of the bordering cyans and magentas in the same adjustment, you can do this in photoshop hue/sat by adjusting the sliders on each channel. see image below (click to enlarge):


la jolla rain revisit

best seat in the house

chair with a view
